background

Showing posts with label elegant sentiments. Show all posts

Monday, July 7, 2014

Color Me Sweet Birthday Coasters {and Photo Tips}

Hi everyone! It's another Color Me Sweet Challenge and some easy basic photo tips for you!

We are going to do something special for our next challenge, a little giveaway. Yay! Who doesn't just love giveaways?!?!? I know I do. So, to up the anti we will be giving away a free digital download to the winner...Thanks Nicole :) So make sure to spread the word and play along.


Here is the next color me sweet challenge: Kraft, Black, Soft Apricot
Color Challenge
Here are the rules:
  1. You must use the color palette only (neutrals are ok…ex- black, white, cream, etc)
  2. You must use Sweet Stamp Shop
  3. You must upload to Sweet Stamp Shop Flickr to be entered into the challenge (you can tag "color me sweet" on the photo)
  4. You must have LOTS of fun and spread the word

I made up some fun coasters stack using the brand new Enjoy Calligraphy set (which you can pick up in the shop HERE.) to that will be a perfect homemade birthday gift.  To see how they were made make sure to stop on over to my blog for all the details.

These coasters are pretty simple to make. I painted some wood squares and let dry. I then sanded the sides down to expose the wood a bit and very lightly sanded the center to smooth out for stamping. Using the Enjoy Calligraphy I stamped the sentiment in the center. I then used the stars from the new On Cherry Street Kit that just came out and stamped the three sizes in two corners and then stamped the smallest in the opposite corners. I finished off with some diamond stickle's across the dream it. I wrapped some ribbon and added attached a tag with a birthday sentiment i stamped from Elegant Sentiments and the Just The Basics set.


Photo Tip:
We have gone over lighting (HERE), close up settings and object placement (HERE). So today we will take a look at backdrops, it's pretty simple and straightforward, although choosing the wrong one will ruin your photo. This really comes down to a LESS IS MORE!

There are a couple options when it comes to backdrops. 
A) you can use just a plain solid color(white, black, blue, red, green, etc)
 B) Or you choose something with a mini print or "natural" look
(For example wood grain, which you will notice I use in about 90% of all my photos. 
It works and I get consistently great results, plus it sort of acts like a "trademark" you see that paper and you then associate it with my cards :) type of thing.)

Why are you choosing a small or neutral print??? You want to choose a small print, since a basic point and shoot does NOT have the same blurring capabilities as a dslr camera. If you choose a paper that has too large of a print or to many things going on you are really doing yourself a disservice, because you are taking away from the main focus and what you are really trying to show which is YOUR PROJECT. If you aren't sure, try some different ones out. When you are out shopping, stay on the look out for the PERFECT backdrop. Here are some no fail perfect backdrops to look for: Wood-grain (any and all styles), Ombre (light to dark or dark to light), Mini Dots, Narrow slanted lines, or tone on tone (for example, pink paper with subtle pink hearts or something) You might even find you already have some of these in your paper stash. I have all my go to's pulled aside in my backdrop stack so I don't accidentally cut into them.

For the base I just use a simple white. It's neutral and matches everything. You can try a few different thing when it comes to the base. For example, your table a chair, a piece of wood, etc. play around and find your style. :)


Have you been enjoying these photo tips? Have questions or need help. Just let me know. I would love to see some before and afters too, leave your blog address below so I can come visit. 

Enjoy Calligraphy

On Cherry Street Magical Kit (stamp set available ONLY in the kit. NOT for individual sale)

Elegant Sentiments
Just the basics

All of these sets are available in the shop HERE.

Thanks for stopping in and don't forget to "like" Sweet Stamp Shop on facebook HERE.

xoxo
Danni

Thursday, February 13, 2014

New Fusion Challenge-Butterflies

Hi my friends!

It's time for another challenge over at Fusion (HERE). If you are looking for the winners you can find them HERE.

Loving this weeks inspiration and sketch. They meshed so perfectly!

Here is this weeks challenge inspiration and sketch
How to play:
1. Play with just the sketch challenge.
2. Play with just the inspiration photo challenge.
3. Or you can create FUSION by combining BOTH challenges into one card.
4. Use the challenge graphic and link back to Fusion in your post.
5. Please read the other considerations on the Our Rules Page before playing along.
Here is my take on the sketch
I used a beautiful butterfly paper that i had in my stash then added a layer of vellum and real wood paper. I stamped a little sentiment from Sweet Stamp Shop, added some ribbon and finished off with a flower and pins. I just love the way that this turned out. The real wood paper is so much fun to use and I think the look of it is so unique. Did you know you can even emboss on it??? Yep, it looks quite gorgeous :)

Here is the stamp set I used, Elegant Sentiment. You can find it HERE. (PS...did you see the brand new release yesterday??? Let's just say AMAZING!!!!)

 Ready to play along now? Just go HERE to join in the fusion fun and make sure to check out all the other girls....here they are:

Tuesday, January 14, 2014

Challenge Time and CHA recap

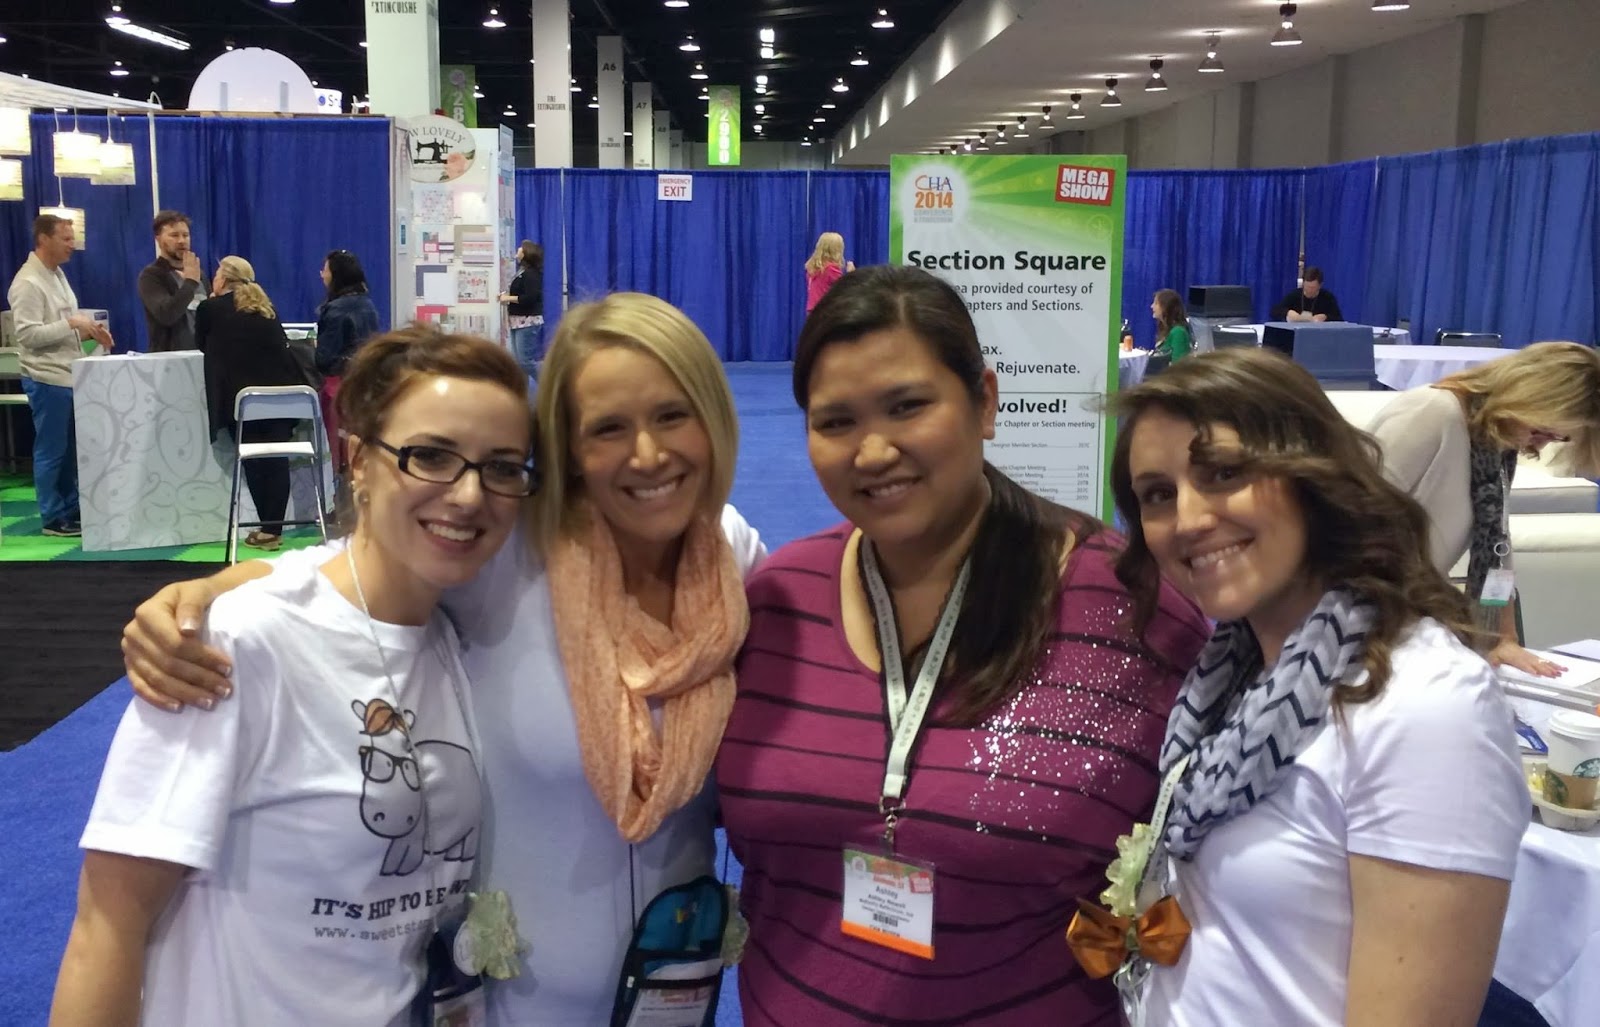
Hey everyone!! As most of you know the the BIG crafting convention, CHA, was this past weekend (Saturday-Tuesday) in Anaheim...pretty much my backyard lol. I was planning on going up for the weekend but plans changed and my husband coincidentally had his own trade show to go to in Las Vegas :) So I just went up on Saturday. Although a very long day it was a blast none the less. It was a busy day and lots of hopping here and hopping there. Looking at this, saying hi, saying goodbye, etc. you get my point, right?!?! Well here are some highlights of my trip.

Me, Connie, Ashley


Nicole, Me, Alyssa


No need to caption this one :)


Ashley, Tim Holtz, Me, Connie
Me, Heidi Sonboul

Me, Lesley Croghan

Nicole, Me, Lesley, Alyssa

Me, Nicole, Ashley Nguyen Newell, Alyssa

Me of course :) Showing off the fabulous Sweets Tee's

Excited about free gelato from Faber Castell

We are so excited to be eating our Double Scoop :) It was pretty tasty might I add!


Well now that CHA is over I decided to play along with a couple challenges.
I really liked the bold colors of the Runway Inspired Challenge and I decided to pair it with Retro Sketches, although I did a very loose interpretation of the sketch I still followed it :)

Here is my card based off both of the challenges.

I paired the bold red and blue together with bits of black accents and notched the one side of the card for rounded corners. I used my scor tape to punch out a butterfly and make glittery and glued it on top of my black twine and pearls. I stamped and embossed the happy birthday from Sweet Stamp Shop and finished off with some red gems.

Elegant Sentiments


 Well, off to bed now got lots to do tomorrow, including getting my car serviced :(

Happy crafting
xoxo
Danni

Thursday, January 2, 2014

Fusion Challenge #1

Hey guys little late in getting this up, but better late than never, right!?!?!


Today is the kick off for Fusions new challenge. I am so happy to be a part of this and working with all of these lovely ladies!  I am just loving the first challenge of the year for fusion, the photo inspiration is so fresh and beautiful and pairs so nicely with the clean lines of the sketch it was just meant to be "fused" together :).
Fusion Card Challenge #1:


Ok, so if you are new to fusion here is how to join in on the fun:
How to play:
1. Play with just the sketch challenge.
2. Play with just the inspiration photo challenge.
3. Or you can create FUSION by combining BOTH challenges into one card.
4. Use the challenge graphic and link back to Fusion in your post.
5. Please read the other considerations on the Our Rules Page before playing along.


Here is my card for Fusion Card Challenge #1
I used brown cardstock for the base of my card and then layered some pretty pattern paper similar to the pattern of the pillow....not sure the name of that pattern but I LOVE it. It was part of my Teresa Collins stash and then I found in my papers a really nice orange same as the pillow pattern from Studio Calico on top. Embellished with some wood stars, raffia, and enamel dots. Finished off with a sentiment from Sweet Stamp Shop.
Elegant Sentiments
 
Happy Crafting
xoxo
Danni